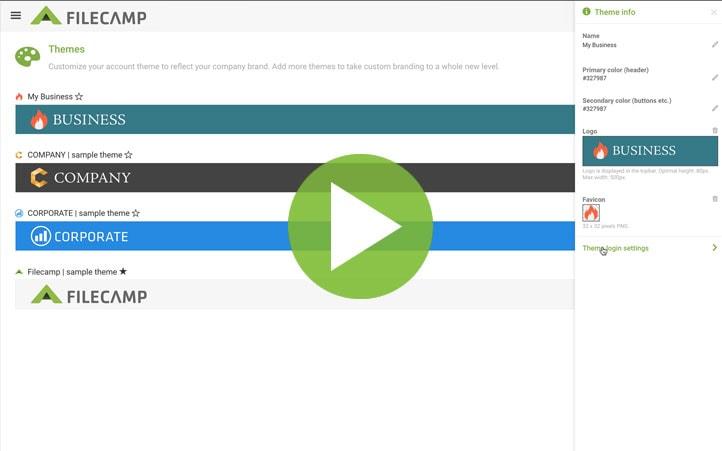
Themes
Customize your Filecamp account to reflect your company brand. With Filecamp Advanced and Professional plans, you can utilize multiple Themes within the same account.
Add / edit Theme
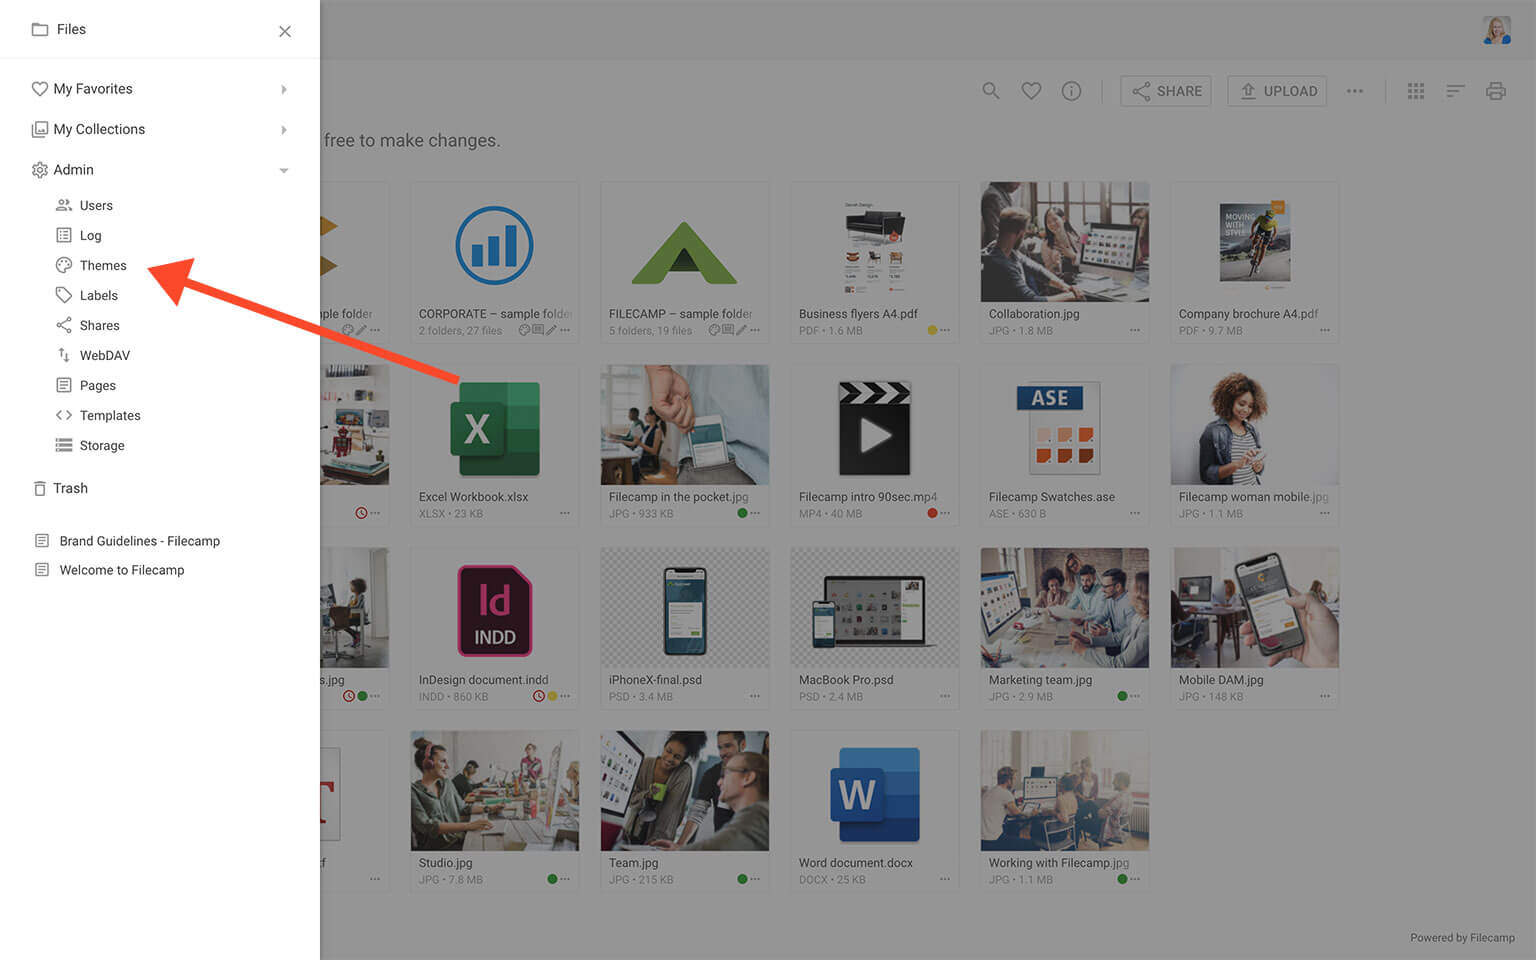
Go to Admin > Themes.
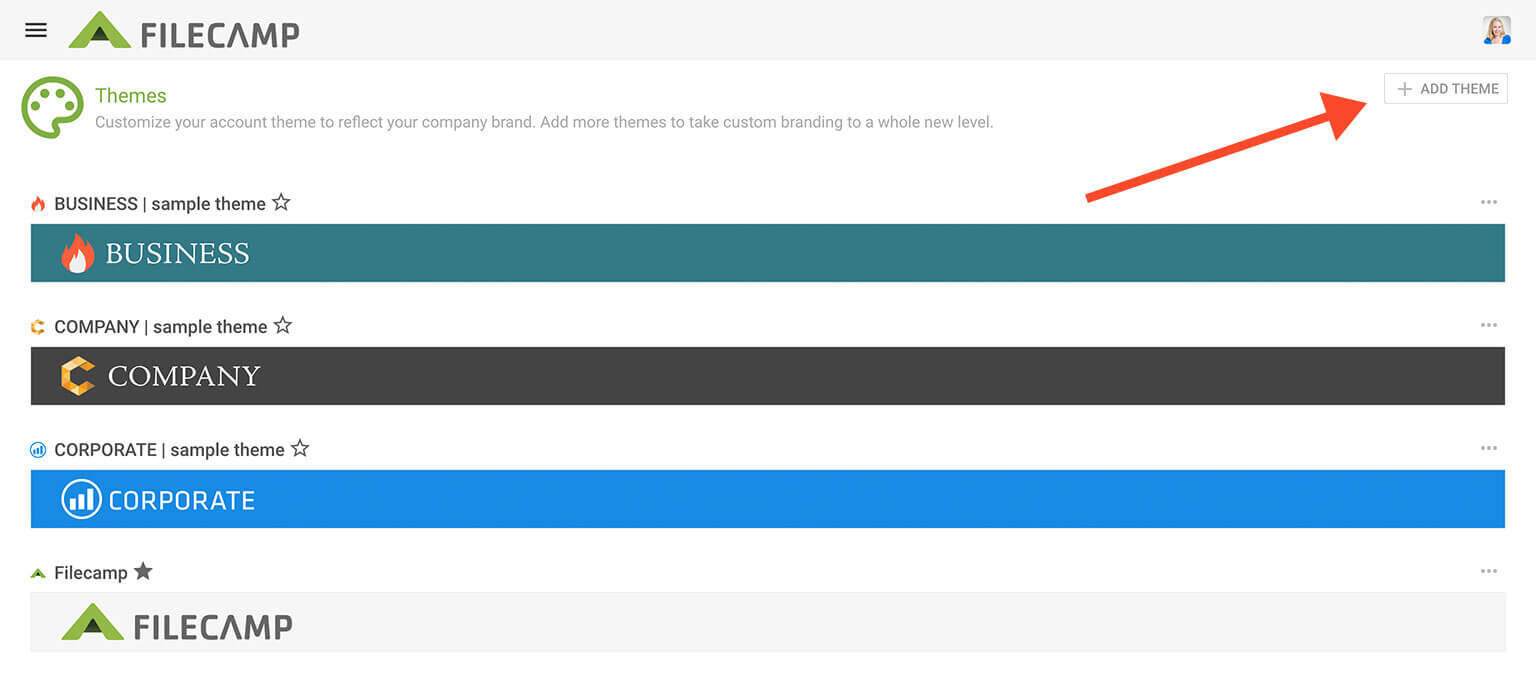
Click on one of the predefined Themes or click ADD THEME button to create a new theme.
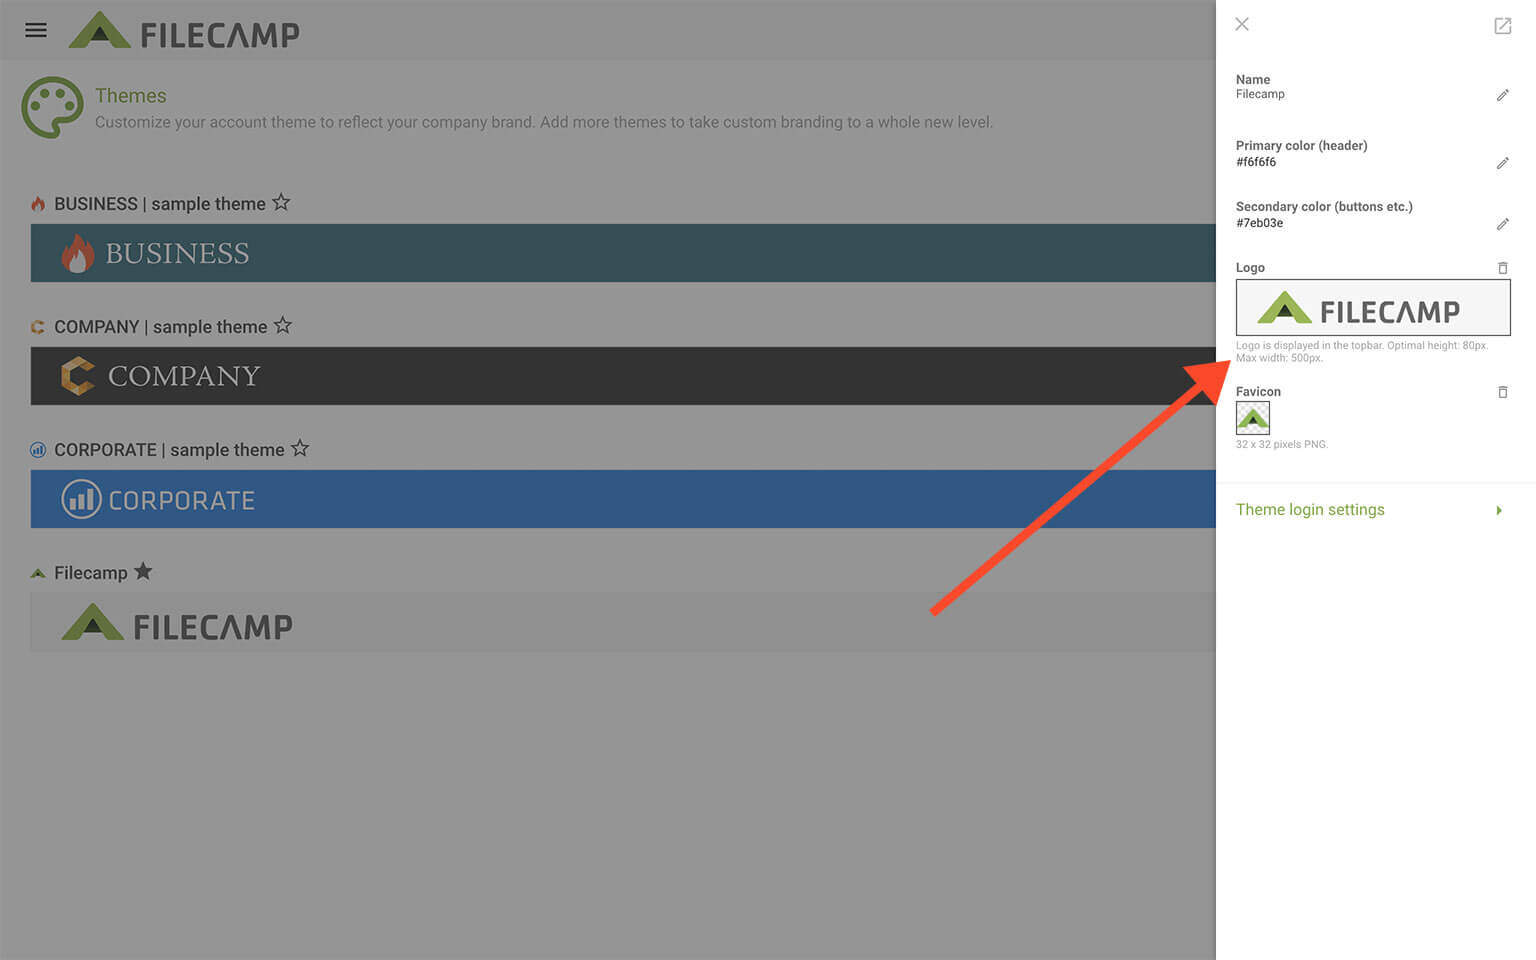
In the edit Theme info window you can quickly customize the look-and-feel of your Filecamp so that you, and your stakeholders, will feel right at home.
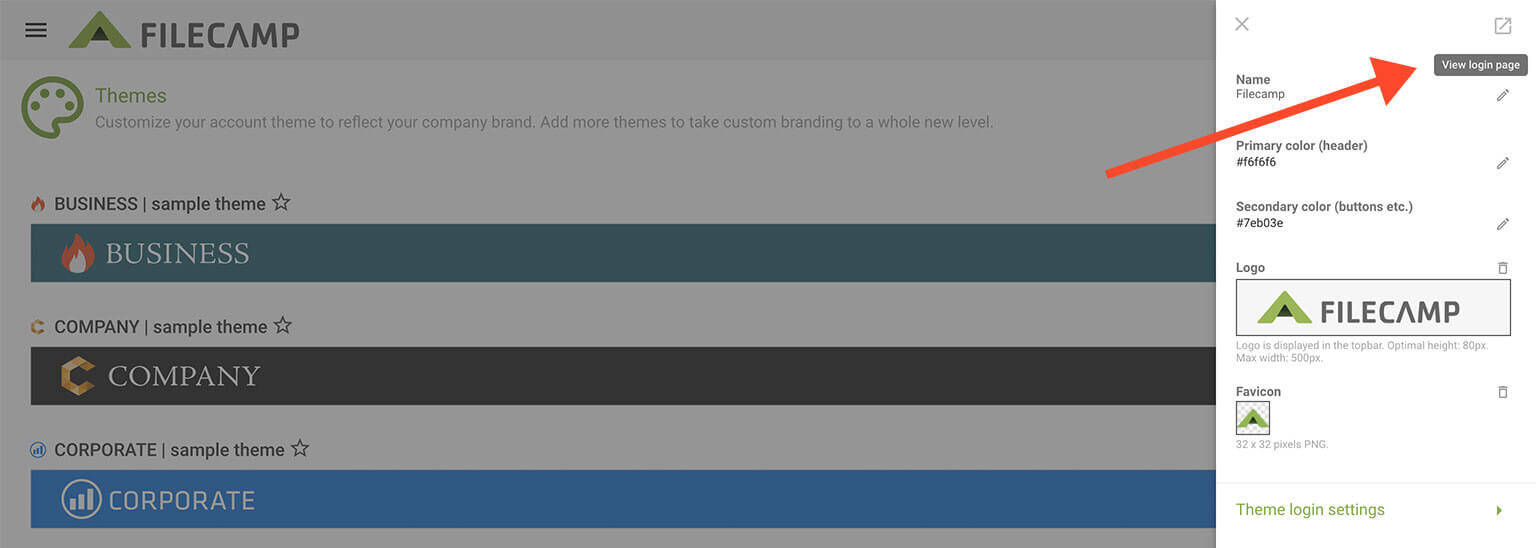
Theme info
These settings are the overall basic settings.
- Name: Enter a name for the Theme. The name will be visible on the login page and in the browser window title.
- Primary color (header): Use the color picker or enter a HEX #color value to specify a background color the header.
- Secondary color (buttons etc.): Use the color picker or enter a HEX #color value, to specify a color for buttons etc.
- Logo: Click on image field to upload your company logo. For the best results use .png or .jpg files with NO white space around it. Optimal height: 80px. Max width: 500px. Use a transparent .png file if you want to use the logo on top of a header background color. This image will be displayed in your header.
- Favicon: Click on image field to upload a favicon. For the best results use a 32x32 px png file.
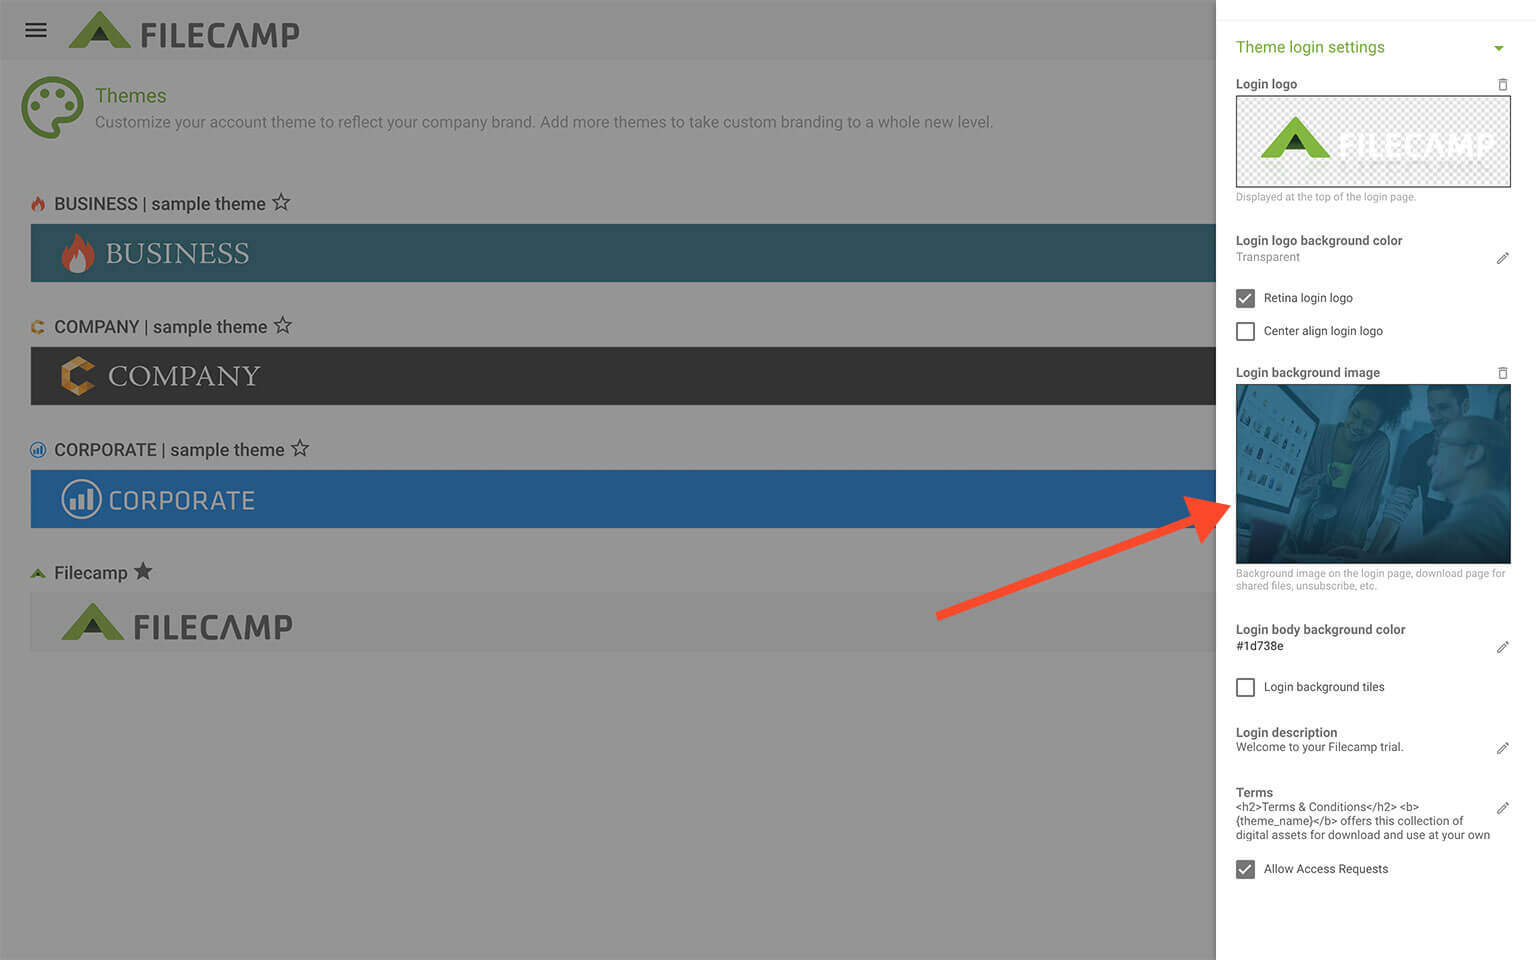
Theme login settings
These settings are primarily for your login page.
- Login logo: Will be displayed at the top of your login page. Click on the image field to upload your company logo. For the best results use .png or .jpg files with some white space around it. Recommended image width is around 500-600px.
Use a transparent .png file if you want to use the logo on top of a background image or color. - Login logo background color: Use the color picker or enter a HEX #color value, to specify a color for the header background on the login page. You can also use various levels of transparency.
- Retina login logo: To make your logo look sharper on retina displays, upload your Login logo in twice the size (width 500-600px.), and check this checkbox.
- Center align header image: Check this checkbox if you want your logo on the login page to be centered instead of left-aligned (default).
- Login background image: Click on the image field to upload a background image. We recommend using a 2000 × 1200 px well-compressed .jpg image.
- Login body background color: Use the color picker or enter a HEX #color value, to specify a background color for the login page. This option is mainly for themes without a background image.
- Login background tiles: Check this checkbox if you want your background image to repeat itself (pattern).
- Login description: You may type a short welcome message to greet your users. It will be displayed in the login box.
- Terms: You can enter your own custom terms, download agreement, etc. It will be displayed on the login page and on all download pages.
- Allow Access Requests: Check this checkbox if you want to enable new users can request an account directly from the login page (Advanced & Pro feature only). When checking the checkbox you are presented with the option of adding a few custom input fields so that you can get more information about the people that are requesting access to your Filecamp. Read more.
View login page
You can always see what the Theme login page looks like by clicking on the View login page icon. Then the login page will open in a new browser tab.
Copy theme
You may use a theme as template instead of starting all over. Go to the list where you can see your themes and click on the 3 Dots Menu . Select Copy to copy the theme.
Delete theme
Go to the list where you can see your themes and click at the 3 Dots Menu . Select Delete to delete the theme. This action cannot be undone.

Default Theme
If you are working with multiple Themes within the same account you can choose which Theme should be your account default theme.
Choose/change default Theme
You can see which theme is your default theme in Admin > Themes. Your default Theme has a filled star next to the Theme name.
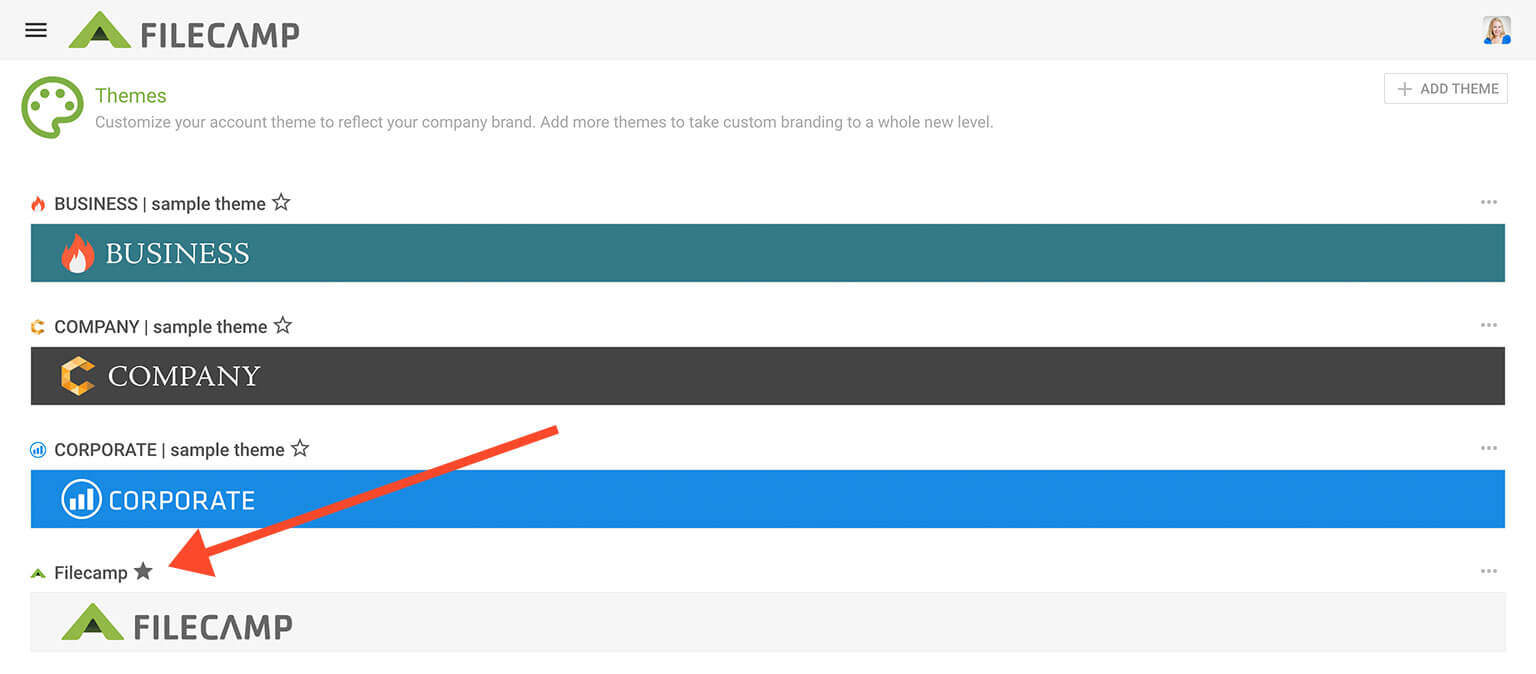
There are two methods to change your default Theme:
Method 1:
Go to Admin > Themes. Your default Theme has a star next to the Theme name. The other Themes has a outlined star
next to the Theme name. Just click on the outlined star
to make it your default Theme
.
Method 2:
Go to Files (the root folder). Then click the Info
icon.
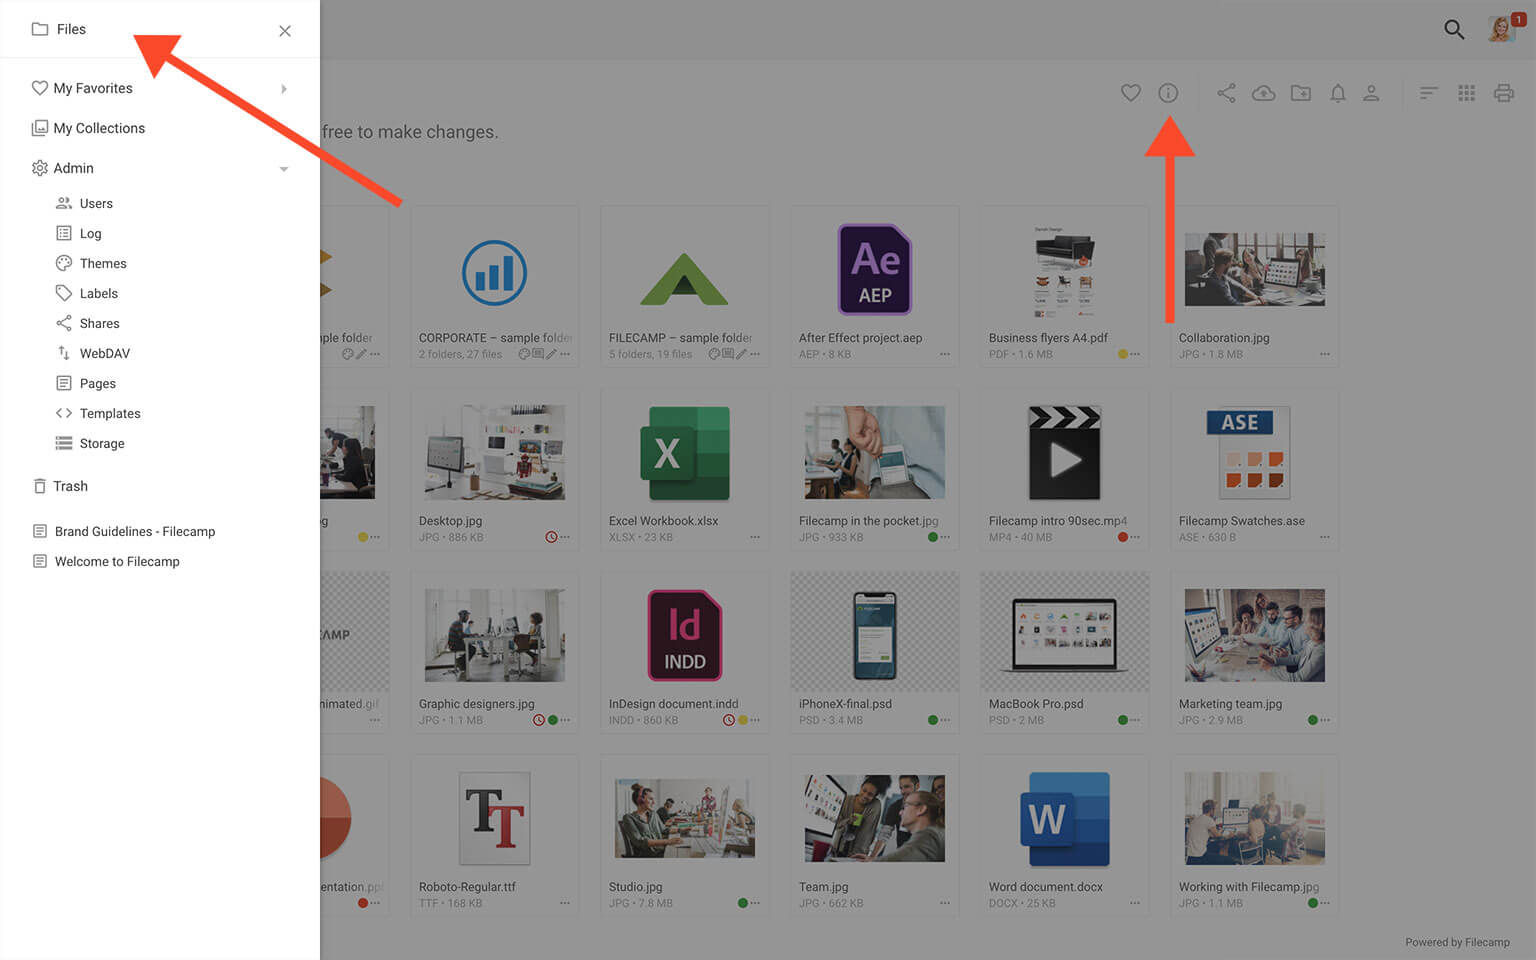
And select your preferred default theme from the drop-down menu.
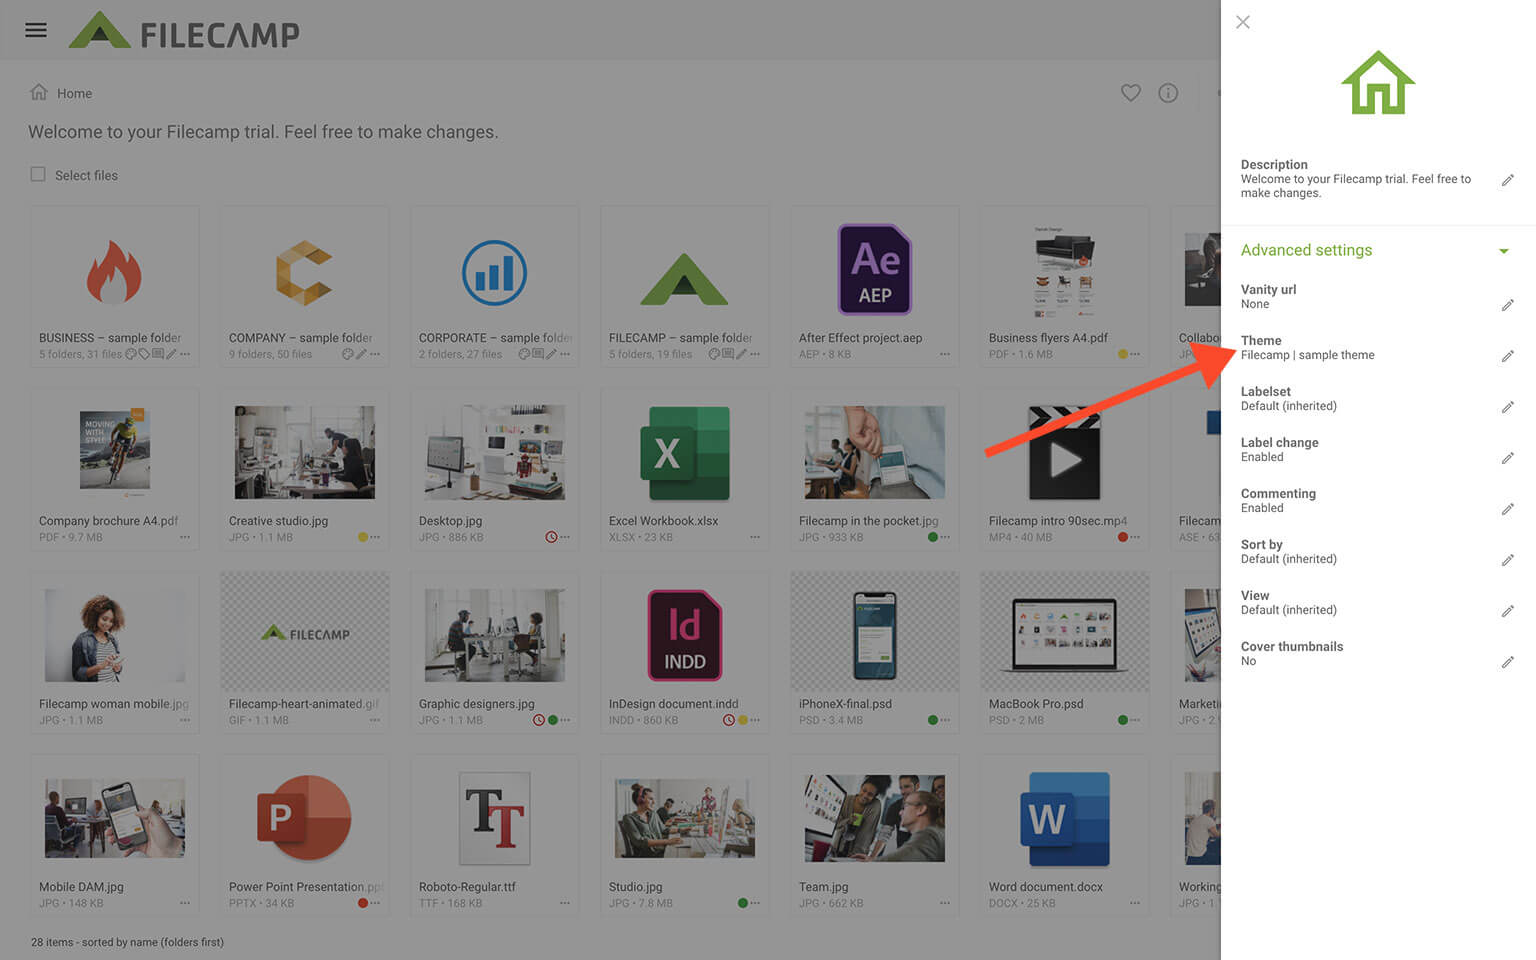
Notice: You will have to refresh your browser or log out and log in again to see the change.
Assign Theme to specific folder
Assign Themes to folders … and give your users a customized look-and-feel when they log in to your Filecamp account.
Assign Theme to a folder
Navigate to the folder you want to change Theme on, then click the Info icon.
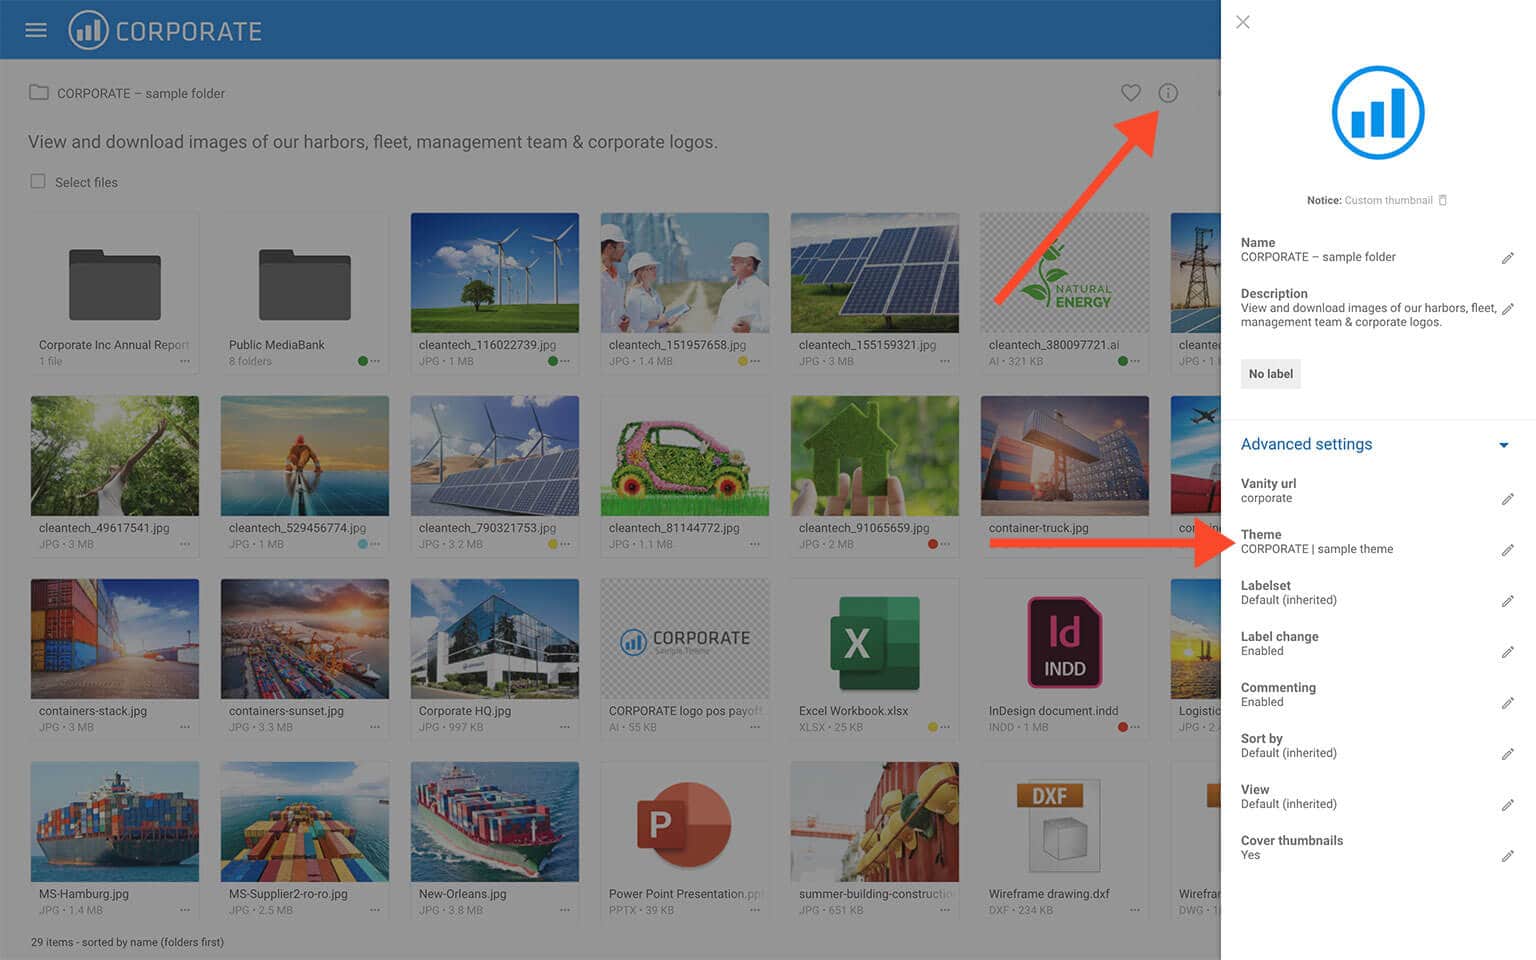
You can now select another Theme in the Theme drop down menu.
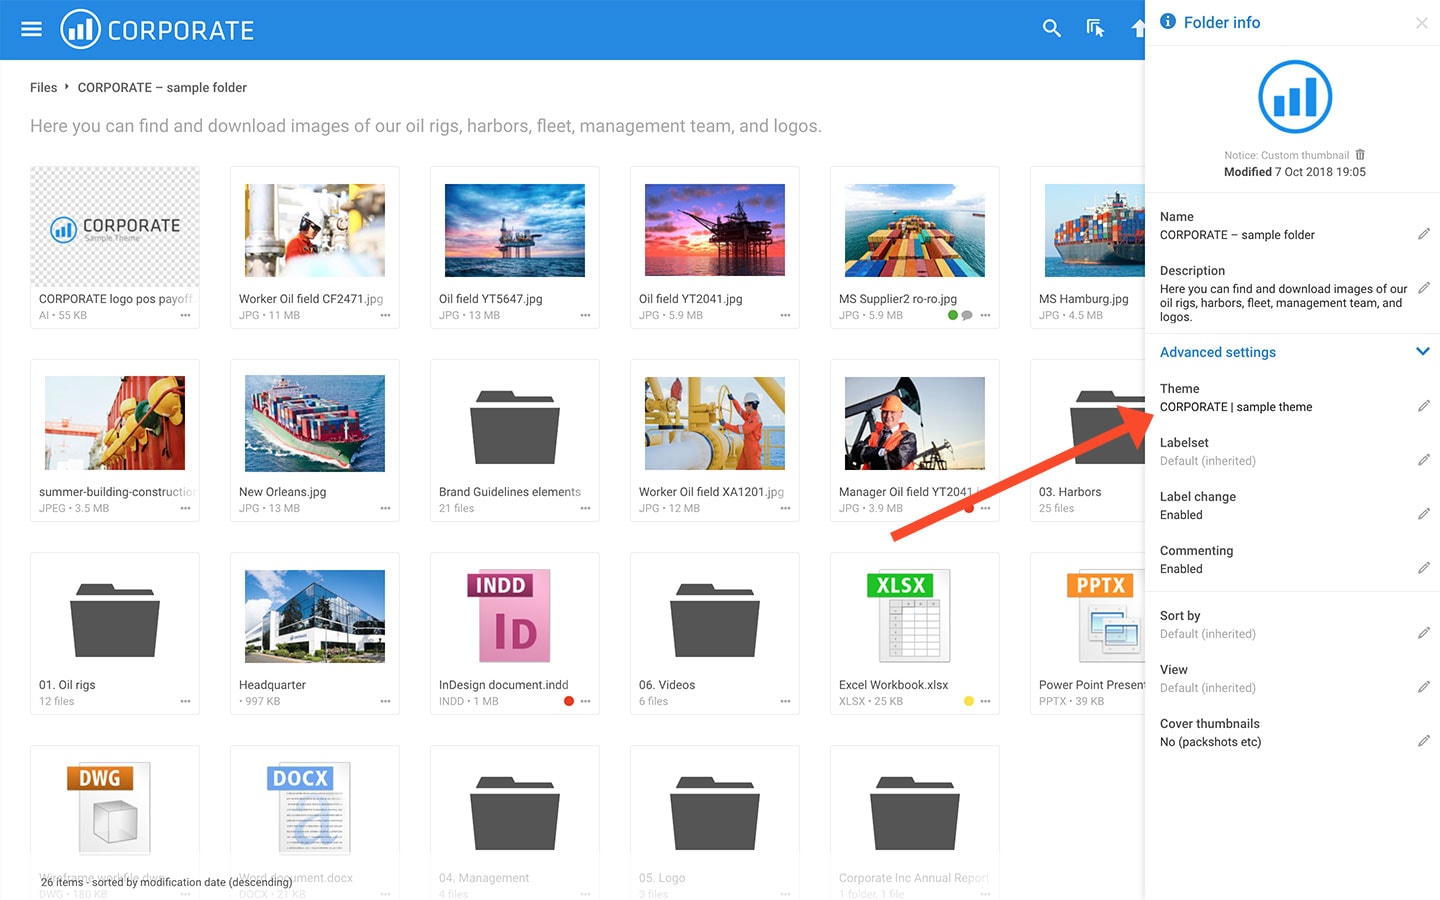
From now on all users will see this Theme (topbar, login page and colors) when entering this folder (and sub-folders).
Please re-visit the folder or refresh your browser to see the change.
This article reviews the following topics:
VIDEO
CUSTOM BRANDING
How to style Filecamp with your own colors, logo, and background image.

